Plants
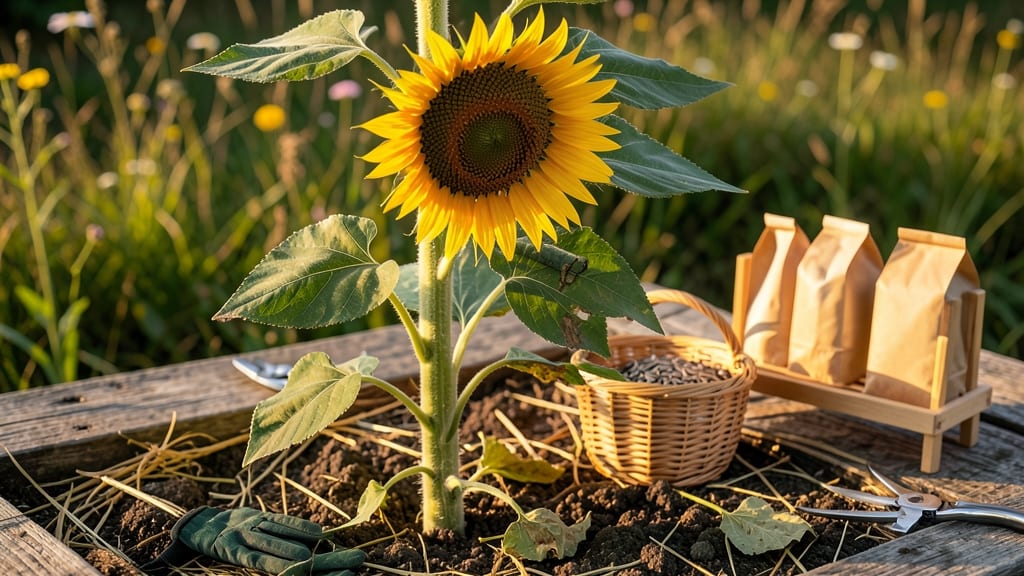
Harvesting sunflower plants at the right time turns your garden into a seed-saving goldmine 🌻—but miss the window, and you’ll end up with scraps instead of plump, viable seeds.
Picture this: You’ve nurtured sunflowers all season, and now the moment of truth arrives. One wrong cut, and those seeds you could’ve saved for next year’s garden vanish into the wind.
The key is knowing when the back of the seed head turns brown, when the petals droop, and when a gentle shake reveals a satisfying rattle.
Timing isn’t just about avoiding wasted effort—it’s about maximizing your yield. Harvest too early, and the seeds won’t store well; too late, and birds or weather might beat you to them.
Below, I’ll walk you through the exact steps to cut stems, dry heads properly, and store seeds for planting next spring.
Whether you’re saving seeds for heirloom varieties or crafting floral arrangements, this guide ensures you get the most out of your sunflowers—no guesswork, just proven techniques for a bountiful harvest.

How to identify the perfect time to harvest sunflower seeds
Harvesting sunflower seeds at the right moment ensures high viability and long-term storage success. Miss this window, and you risk low germination rates or seed spoilage. The key lies in watching for visual cues and physical changes in the flower head and stem.
These indicators tell you exactly when to act—before seeds scatter or the plant succumbs to frost.
First, focus on the back of the seed head. When it turns from green to brown, that’s your first major signal. This color shift means the seeds inside are fully mature and ready for harvest.
Pair this with a seed rattle test: gently shake the head—if seeds move freely inside, they’re ready. Ignore these signs, and you might harvest too early, leaving seeds underdeveloped or too late, risking seed loss.
Leaf changes also play a crucial role. As the lower leaves yellow and crisp up, the plant redirects energy to the seed head. This is nature’s way of signaling that the seeds are fully developed.
However, don’t wait until the entire plant wilts—harvest before frost damage occurs, especially in cooler climates like USDA Zone 6a or lower.
Regional climate adjustments are critical. In hot, dry regions, sunflowers may mature faster, so monitor heads weekly starting in late summer. In cooler zones, extend your harvest window by 2-3 weeks to account for slower growth.
Always prioritize dry, sunny days for harvesting to prevent mold growth during drying.
Another pro tip: watch for bird activity. If birds are pecking at your sunflowers, they’re likely after ripe seeds. This is a clear sign your seeds are ready—act fast to avoid seed loss.
Once you spot these signs, prepare to harvest within 24-48 hours to maximize seed quality.
Timing isn’t just about the seed head—it’s also about the stem’s readiness. Cut stems when the flower head is fully dry but before it scatters seeds naturally.
Use a clean, sharp pruner to avoid crushing the head. Leave a 2-3 inch stem attached to make hanging heads easier for drying.
For seed-saving purposes, consistency is key. Harvest multiple heads over 1-2 weeks to account for variations in maturity. Store dried heads in a well-ventilated, dry space until you’re ready to process the seeds. This ensures you capture the best genetic diversity for future planting.
Finally, trust your instincts. If you’re unsure, err on the side of waiting a few days. Overripe seeds may shatter, but slightly underripe seeds can still dry properly if harvested early. The goal is to strike that perfect balance between maturity and freshness for optimal seed viability.
With these visual cues and regional adjustments, you’ll never miss the ideal harvest window again. Happy harvesting! 🌾
Step-by-Step guide to cutting and drying sunflower heads for seed storage
Once your sunflowers show those telltale signs of maturity—drooping petals and a browned seed head back—it’s time to act fast. Cutting stems at the right moment ensures viable seeds for next year’s garden.
Use a sharp pruner or clean knife to avoid crushing the stem, and always cut 2-3 inches below the flower head to preserve the seed cluster.
Timing your harvest correctly is critical: aim for a dry, overcast day to prevent seeds from scattering as you work. If you harvest on a windy or rainy day, seeds may fall prematurely, reducing your yield. Work gently but efficiently—sunflower heads are delicate once mature.
After cutting, remove all petals and any remaining leaves attached to the stem. This step prevents moisture retention, which can lead to mold or spoilage during drying.
Label each head with the variety name and harvest date using a small piece of tape or a marker to keep your seed collection organized.
- 🌾 Step 1: Gather Tools
Clean pruners, paper bags (for individual heads), a flat drying surface (like a screen or cardboard), and a permanent marker. - 🌿 Step 2: Cut Stems at the Base
Use sharp shears to slice 2-3 inches below the flower head. Avoid crushing stems to prevent seed damage. - 🧹 Step 3: Remove Petals and Leaves
Strip away all petals and foliage to expose the seed head. This speeds up drying and reduces mold risk. - 📝 Step 4: Label Each Head
Write the variety name and harvest date on tape attached to the stem. This keeps seeds organized for storage. - 🌞 Step 5: Choose a Drying Method
Indoor: Hang heads upside-down in a well-ventilated area (e.g., garage or shed).
Outdoor: Lay heads on a screen in shade for 1-2 weeks. - 💨 Step 6: Test for Dryness
Seeds are ready when they rattle loudly when shaken and the back of the head is completely brown. - 🌾 Step 7: Extract and Store Seeds
Rub dried heads between your hands or use a fork to loosen seeds. Store in a cool, dry place (like a jar) for up to 3 years.
For indoor drying, hang heads upside-down in a well-ventilated area like a garage or shed. This method takes 1-2 weeks and protects seeds from outdoor pests. If you’re drying outdoors, place heads on a wire mesh screen in a shady spot to prevent overheating, which can damage seeds.
Once the heads are fully dry, test for readiness by giving them a gentle shake. If seeds rattle loudly and the back of the head is completely brown, they’re ready for storage. Avoid storing seeds if they feel damp or smell musty—this indicates mold contamination, which ruins viability.
To store seeds long-term, place them in a paper envelope or airtight jar and keep them in a cool, dark place like a pantry or refrigerator. Label each container with the variety and harvest year to avoid confusion.
With proper care, your sunflower seeds can remain viable for up to 3 years!